I. Czym jest elektryczny crockmeter?
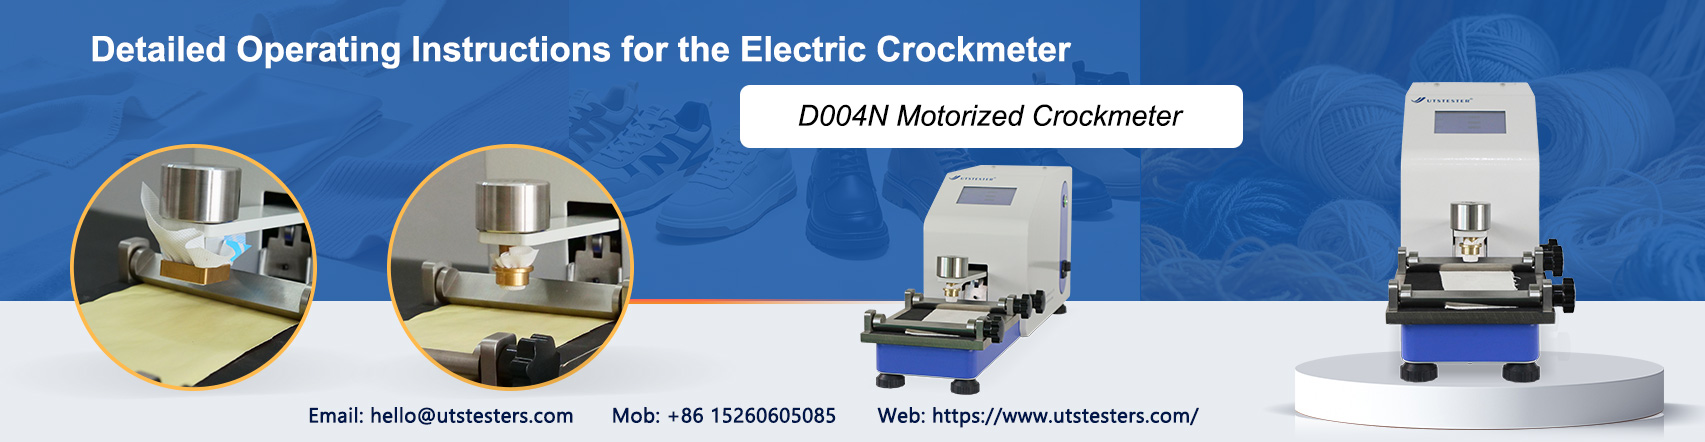
Elektryczny crockmeter jest jednym z podstawowych urządzeń do badania odporności na ścieranie koloru w przemyśle tekstylnym. Służy głównie do oceny stopnia przenoszenia koloru z barwionych tkanin w warunkach suchego i mokrego tarcia. Urządzenie to symuluje tarcie między tkaninami a innymi przedmiotami występujące podczas codziennego użytkowania i za pomocą standaryzowanych metod badawczych dostarcza obiektywnych danych do kontroli jakości produktów.
Nadaje się do różnych rodzajów barwionych, drukowanych i powlekanych tkanin i jest szeroko stosowane w badaniach jakości w takich branżach jak odzież, tekstylia domowe oraz materiały obuwnicze.
II. Zasada badania
Elektryczny crockmeter działa poprzez zamocowanie standardowej białej tkaniny bawełnianej (tkaniny do badania ścieralności) do głowicy ciernej i wykonywanie ruchu posuwisto-zwrotnego po powierzchni badanego próbki przy określonym nacisku (zwykle 9 N) i długości skoku (zwykle 104 ± 3 mm). Po zakończeniu tarcia stopień odporności na ścieranie koloru badanej tkaniny określa się poprzez ocenę stopnia przeniesienia koloru na tkaninę cierną.
Tester jest napędzany silnikiem, a zarówno liczba cykli tarcia, jak i prędkość mogą być ustawione wstępnie; w porównaniu z ręcznymi testerami odporności na ścieranie koloru, zapewnia bardziej stabilne wyniki badań i lepszą powtarzalność.
III. Przygotowanie przed badaniem
1. Przygotowanie próbki
Pobrać próbkę badanej tkaniny o wymiarach co najmniej 50 mm × 200 mm, upewniając się, że obszar badania jest płaski, wolny od zagnieceń i wad. Jeśli próbka jest tkaniną drukowaną, należy osobno zbadać i zapisać wyniki dla koloru tła oraz wzoru.
2. Przygotowanie tkaniny ściernej
Użyć białej bawełnianej tkaniny ściernej o wymiarach 50 mm × 50 mm, spełniającej wymagania GB/T 3920 lub AATCC 8. Przed badaniem tkanina ścierna musi być kondycjonowana przez co najmniej 4 godziny w standardowych warunkach atmosferycznych (temperatura 20 ± 2 °C, wilgotność względna 65 ± 4%).
3. Przygotowanie do mokrego ścierania (jeśli wykonywane jest badanie mokrego ścierania)
Zanurzyć kondycjonowaną tkaninę cierną w wodzie destylowanej, aż jej absorpcja wody osiągnie 95%–100% (tzn. masa mokra będzie w przybliżeniu dwukrotnie większa od masy suchej). Po wyjęciu usunąć nadmiar wody za pomocą urządzenia do wyżymania lub ręcznie, aby zapewnić zgodność zawartości wilgoci z wymaganiami normy; tkanina nie może kapać wodą.
4. Kontrola urządzenia
- Upewnić się, że zasilanie jest prawidłowo podłączone, a urządzenie jest właściwie uziemione
- Sprawdzić, czy powierzchnia głowicy ciernej jest płaska i nieuszkodzona
- Upewnić się, że skok tarcia i liczba cykli tarcia są ustawione prawidłowo
- Sprawdzić, czy urządzenie mocujące jest zabezpieczone
IV. Szczegółowe procedury obsługi
Krok 1: Montaż badanej próbki
Mocno przymocować przygotowaną badaną tkaninę do stołu próbki urządzenia, kierując powierzchnię tkaniny ku górze. Docisnąć ją płytką mocującą, aby obszar badania był napięty i nie przesuwał się.
Krok 2: Montaż tkaniny ściernej
Wziąć suchą (lub mokrą) standardową tkaninę ścierną i zamocować ją do głowicy ciernej. Upewnić się, że kierunki osnowy i wątku tkaniny ściernej odpowiadają kierunkom badanej próbki oraz że powierzchnia tkaniny jest płaska i pozbawiona naprężeń.
Krok 3: Ustawienie parametrów badania
Ustawić następujące parametry zgodnie z normą badania:
- Skok tarcia: 104 mm (ustawienie standardowe)
- Częstotliwość ruchu posuwisto-zwrotnego: zwykle 1 cykl na minutę
- Liczba cykli tarcia: 10 cykli dla tarcia suchego, 10 cykli dla tarcia mokrego (szczegółowe wartości zależą od normy badania)
Krok 4: Rozpoczęcie badania
Nacisnąć przycisk start; urządzenie automatycznie wykona ustawioną liczbę cykli tarcia. Nie dotykać ruchomych części podczas badania i obserwować, czy działanie przebiega płynnie.
Krok 5: Usunięcie tkaniny ciernej
Po zakończeniu badania ostrożnie wyjąć tkaninę cierną, unikając kontaktu z obszarem tarcia. Po badaniu mokrego tarcia tkanina cierna musi zostać wysuszona na powietrzu w temperaturze pokojowej lub wysuszona zgodnie z metodą określoną w normie.
Krok 6: Ocena wyników
Porównać tkaninę cierną ze skalą szarości przenoszenia koloru GB/T 251 lub AATCC, aby określić stopień przeniesienia koloru. Zapisać stopnie odporności na ścieranie koloru osobno dla tarcia suchego i mokrego. Skala ocen obejmuje stopnie od 1 do 15, przy czym stopień 5 jest najlepszy, a stopień 1 najgorszy.
V. Często zadawane pytania
P: Dlaczego wyniki ocen dla tarcia suchego i mokrego zwykle się różnią?
A: Podczas pocierania na mokro barwniki mają większą tendencję do przenoszenia się z tkaniny na ściereczkę do pocierania; dlatego ocena odporności koloru na pocieranie na mokro jest zazwyczaj niższa niż ocena na sucho. Jest to normalne, ale obie muszą spełniać wymagania odpowiednich norm produktowych.
P: Co powinienem zrobić, jeśli wyniki testu znacznie się wahają?
A: Po pierwsze, sprawdź, czy próbki testowe były odpowiednio przygotowane, czy ściereczka do pocierania spełnia normy i czy wilgotność jest jednolita. Po drugie, sprawdź, czy nacisk głowicy pocierającej urządzenia jest równomierny i w razie potrzeby skalibruj go.
P: Oceny odporności na pocieranie na mokro dla ciemnych tkanin są stale niskie. Jak można to poprawić?
A: Zazwyczaj jest to związane z doborem barwnika i procesem utrwalania. Zaleca się rozpoczęcie od procesu barwienia i wykończania poprzez optymalizację doboru barwnika, poprawę wskaźnika utrwalenia i ulepszenie prania po obróbce, zamiast polegać wyłącznie na metodach testowych.
Email: hello@utstesters.com
Direct: + 86 152 6060 5085
Tel: +86-596-7686689
Web: www.utstesters.com


 +86 152 6060 5085
 English
 русский
 español
 português
 العربية
 Polski



 hello@utstesters.com
 hello@utstesters.com
 +86 152 6060 5085
 +8615260605085